Configure and launch a properly-named test session, then understand test types and console error settings so Testaify can explore and test your web app.
TABLE OF CONTENTS
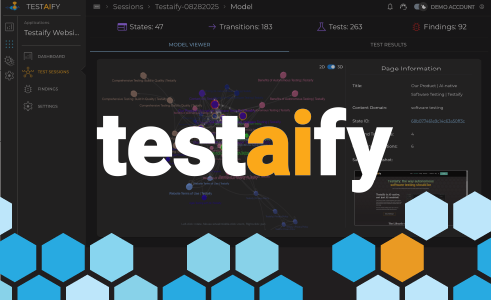
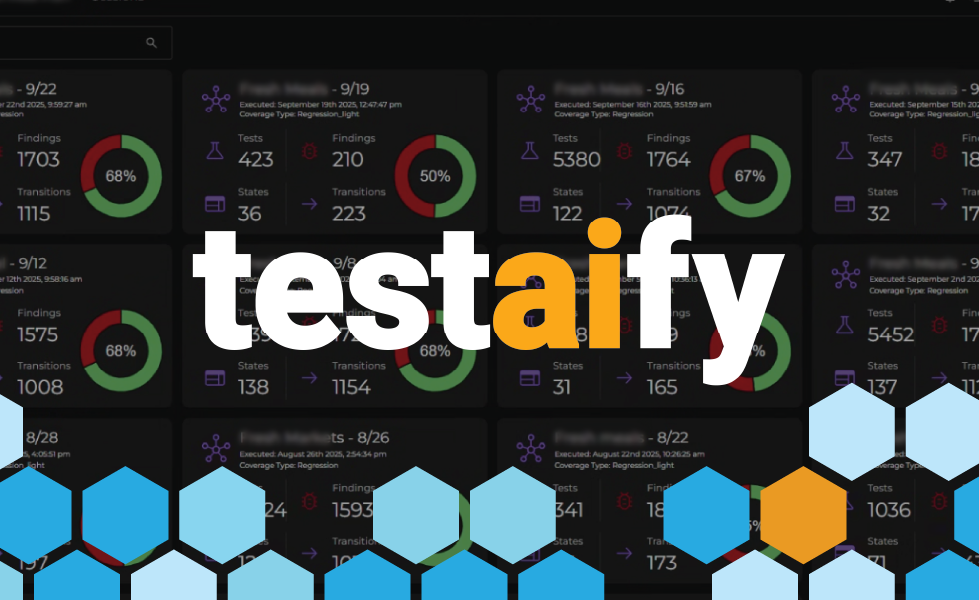
How Testaify Works: Running Test Sessions
Now that you've successfully added your web application to Testaify (as covered in our previous post), it's time to explore the platform's core functionality: test sessions. Test sessions are where the magic happens – where Testaify automatically explores and tests your application to uncover potential issues before they reach your users.
Getting Started with Test Sessions
Launching a test session in Testaify is straightforward, but the available configuration options provide powerful control over how thoroughly you test your application. To begin:
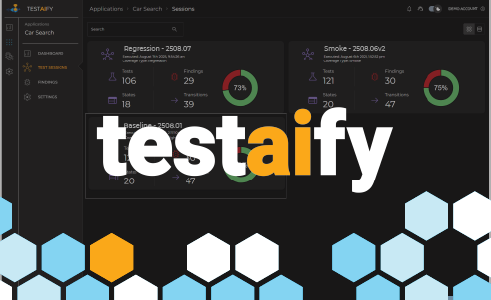
- Select Applications in the sidebar from the Testaify dashboard
- Select the specific application you want to test
- Navigate to Test Sessions in the sidebar
- Click "Start Test Session"

This action opens the test session configuration panel, where you'll make several important decisions that will shape how Testaify approaches testing your application.
Configuring Your Test Session
Naming Your Test Session
The first step is providing a meaningful name for your test session. Since Testaify is designed for team collaboration across development teams, establishing a consistent naming convention is crucial for organization and communication.
We recommend creating a naming standard that your entire team can follow. Consider these proven formats:
- Time-based-focused:
- YYYY-MM-DD_[TestType]_[Component] (e.g., "2024-08-28_Smoke_Authentication")
- Week[##]_[TestType]_[Area] (e.g., "Week34_Regression_UserManagement")
- Sprint-focused:
- [Sprint]_[Component]_[TestLevel] (e.g., "Sprint15_Checkout_Regression")
- Environment-specific:
- [Environment]_[Build]_[TestLevel] (e.g., "Staging_v2.1.3_Sanity")
A well-defined naming convention helps team members quickly understand the scope and purpose of each test session, making it easier to track results and identify patterns over time.
Understanding Test Session Types
Testaify offers three distinct test session types, each tailored for different testing scenarios and time constraints. The default setting positions your test at the "middle" level. This level is essentially sanity testing, which strikes a balance between thoroughness and efficiency.
- Smoke Testing: Smoke testing represents the most basic level of testing—a quick verification that your application's core functionality works without major failures. Think of it as a "build verification test" that answers the fundamental question: "Is the application stable enough for further testing?" Smoke tests are perfect for rapid validation after deployments or minor bug fixes.
- Sanity Testing (Middle Setting): Sanity testing goes deeper than smoke testing but remains more focused than full regression testing. It validates that specific functionality works as expected after changes, typically covering the most critical user paths and recently modified features. This setting is the sweet spot for most regular testing scenarios.
- Regression Testing: Regression testing is the most comprehensive approach, designed to ensure that new changes haven't broken existing functionality. It systematically tests both new features and established functionality to maintain overall system integrity. Use this for major releases and comprehensive quality assurance cycles.
Console Error Detection Configuration
The second configuration option is "Treat console errors as findings," a toggle that determines whether Testaify should flag JavaScript console errors, warnings, and exceptions as test findings.
Enable this setting when:
- Conducting development-phase testing where catching JavaScript errors early is valuable
- Performing comprehensive quality assurance before major releases
- Debugging frontend issues or investigating performance problems
- Working with applications where console cleanliness is a defined quality standard
Disable this setting when:
- Testing applications with third-party integrations that generate expected console warnings
- Running smoke tests where you want to focus exclusively on functional issues
- Working with legacy applications that have known but non-critical console errors
- Dealing with console errors from external sources beyond your team's control (third-party scripts, advertisements, analytics)
How Test Types Impact Testaify's Testing Behavior
These test type selections aren't just labels; they directly influence how Testaify conducts your testing session through two critical parameters: discovery max time and actions taken per page.
Discovery Max Time
This setting determines how long Testaify will spend exploring and mapping your application:
- Smoke: 30 minutes – Quick exploration focusing on primary navigation paths and core functionality
- Middle (Sanity): 2 hours – Moderate exploration covering main features and standard user flows
- Regression: 6 hours – Comprehensive exploration attempting to discover all accessible functionality and edge cases
Actions Taken Per Page
This parameter controls how thoroughly Testaify interacts with each page it discovers:
- Smoke: 10 actions – Basic interactions with the most prominent and essential elements
- Middle (Sanity): 20 actions – More thorough interaction with forms, buttons, and interactive elements
- Regression: Unlimited actions – Exhaustive testing of all discoverable interactive elements and user workflows
Choosing the Right Test Type for Your Needs
Use Smoke Testing when:
- Validating fresh deployments or environment setups
- Performing quick verification after minor bug fixes
- Preparing for demonstrations or client meetings
- Conducting initial testing of new environments or configurations
Use Sanity Testing when:
- Testing specific feature implementations or updates
- Performing post-sprint validation of completed work
- Running moderate regression checking after routine updates
- Integrating testing into regular CI/CD pipeline processes
Use Regression Testing when:
- Preparing for major release cycles
- Testing after significant architectural changes or refactoring
- Conducting comprehensive pre-production validation
- Performing weekly or milestone-based testing cycles
Starting Your Test Session
Once you've configured your session name, selected your appropriate test type, and decided whether to include console error detection, simply click "Start" to launch your test session. Testaify will immediately begin exploring your application according to the parameters you've established, systematically testing functionality and documenting any issues it discovers.

Best Practices for Effective Test Sessions
- Start with Smoke, escalate as needed. Begin with faster smoke tests for quick validation, then move to more comprehensive testing based on initial results.
- Document and share your naming convention. Ensure all team members understand and follow the same naming standards
- Schedule appropriately. Plan longer regression tests during off-hours to minimize the impact on development work.
- Review results systematically. Establish a straightforward process for reviewing findings and taking action based on test session results.
- Monitor console error patterns. Use the console error setting strategically to identify recurring frontend issues.
Test sessions in Testaify provide powerful automated testing capabilities that can significantly improve your application's quality and reliability. By understanding these configuration options and selecting the appropriate settings for your specific needs, you can optimize the value of each test session and identify issues before they affect your users.
Ready to run your first test session? Select your test type based on your current requirements, configure your settings thoughtfully, and let Testaify handle the comprehensive exploration and testing of your application.
What's Next?
In our next post, we'll dive deep into what happens during an active test session. You'll learn about the execution steps, see how Testaify intelligently explores your application, and understand what the platform is doing behind the scenes to learn your product and identify potential issues. We'll walk through the real-time monitoring capabilities and show you how to interpret the testing process as it unfolds.
About the Author
 Testaify founder and COO Rafael E. Santos is a Stevie Award winner whose decades-long career includes strategic technology and product leadership roles. Rafael's goal for Testaify is to deliver comprehensive testing through Testaify's AI-first platform, which will change testing forever. Before Testaify, Rafael held executive positions at organizations like Ultimate Software and Trimble eBuilder.
Take the Next Step
Testaify is in managed roll-out. Request more information to see when you can bring Testaify into your testing process.